
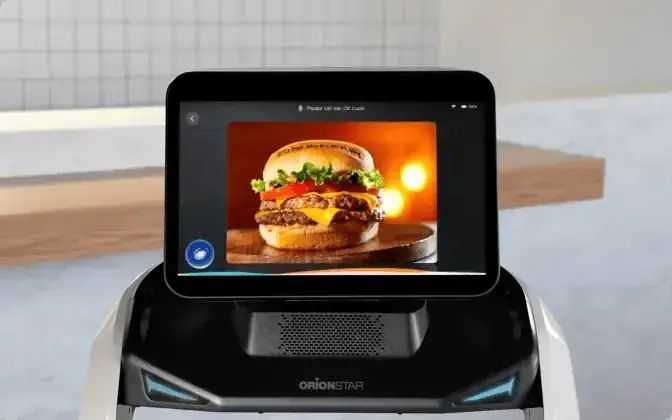
Accurate mapping is the single most important step that determines how efficiently your restaurant robot will perform during daily service. If the map is precise, the robot moves smoothly, avoids obstacles, and optimizes routes. If the map is careless, performance suffers. The good news? Mapping a restaurant robot is straightforward, practical, and usually takes about an hour. Here is how it works in real conditions.
What Mapping Actually Is
Mapping is the process where the robot scans and memorizes your interior layout. Walls, corridors, transitions between rooms, open areas, and structural elements are recorded into its internal navigation system.
In practice, you activate mapping mode on the robot. Then you physically push the unit through the restaurant. It moves on its wheels while scanning the environment using LiDAR and onboard sensors. On the screen, you can see the map building in real time. You also see the coverage level increase as more space is scanned.
The more thoroughly you cover the floor area, the more accurate the final map will be. Precision here directly impacts long-term performance of the mapping robot.
Mapping is typically a one-time process. Once saved, the restaurant robot remembers the layout.
Preparation Before You Start
Before activating mapping mode, basic preparation improves results significantly.
- Clear temporary obstacles from the floor.
- Remove boxes, loose cables, or cleaning equipment.
- Open doors that should be part of the operational layout.
- Ensure lighting is normal and stable.
- Avoid peak hours while mapping.
Remember, the robot memorizes what it sees. If someone is standing in a corridor during scanning, that shape may appear as an obstacle in the draft map. That is why a calm environment is ideal.
Cleaning the Map: Removing Noise
After completing the physical walkthrough, you may notice “noise” on the digital map. This can appear if someone walked by during scanning or if temporary objects were on the floor.
Fortunately, cleaning the map is simple. Directly on the robot’s screen, you can erase unwanted artifacts. The interface is intuitive. Many operators describe this step as surprisingly satisfying. You refine the layout and remove distortions until the map reflects the real structure of your restaurant.
This cleanup stage ensures your restaurant robot navigates only around permanent architectural elements.
Defining No-Go Zones
The next step is critical for safety and control. You manually mark no-go zones on the map. These are areas the robot will treat as solid walls. It will never enter them.
No-go zones are useful for:
- Staircases
- Floor drops or uneven surfaces
- Decorative platforms
- Storage corners
- Glass walls or mirrors
- Fragile installations
Even though most robots detect obstacles with LiDAR, marking sensitive areas adds an extra safety layer. It also allows you to prevent the robot from entering high-traffic staff zones where it may cause unnecessary congestion.
This level of control is what makes a properly configured mapping robot predictable and reliable.
Adding Tables and Operational Points
Once the base map is clean and safe, you define service points.
To do this, move the restaurant robot to the exact physical location you want to mark. Place it precisely where it should stop. Rotate it in the direction it should face. For example, point the tray toward the table. Then assign the point on the screen and give it a name.
Typical points include:
- Table numbers
- Kitchen
- Dishwashing station
- Bar
- Entrance
- Charging station
- Greeting position
Some robot models allow additional behaviors such as automated guest greetings, depending on configuration. Clear naming conventions help staff operate the system efficiently during peak service.
Creating Routes and Traffic Logic
After defining points, you create routes. This is where operational intelligence comes into play.
You guide the robot along preferred paths and confirm where it is allowed to travel. This step allows you to:
- Avoid narrow corridors
- Prevent overlap with main waiter lanes
- Keep the robot away from high-density areas
- Shorten travel distance between key points
Choosing shorter, logical paths improves speed and reduces battery consumption. It also ensures the robot enhances workflow rather than disrupting it.
Think of this stage as choreographing movement inside your restaurant.
Testing and Final Adjustments
Once routes are defined, save the map.
Run test deliveries between key points. Observe how the restaurant robot behaves. Check turning angles, clearance around tables, and alignment at stop points.
If something feels off, adjustments are easy. The robot will display any navigation warnings directly on screen. Small refinements at this stage prevent larger operational issues later. After validation, the robot is ready for service.
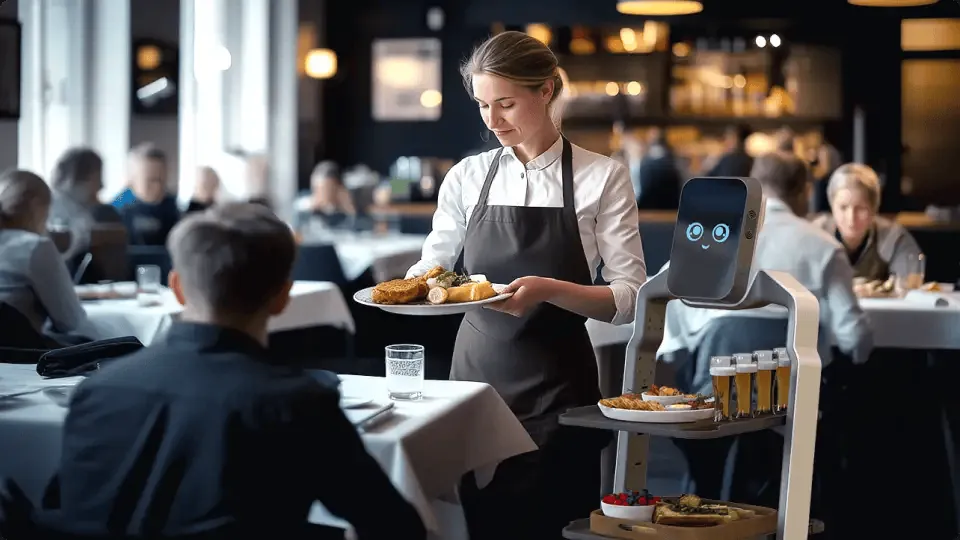
Can You Have Multiple Maps?
Yes. Most systems allow several maps to be stored simultaneously.
This is useful if:
- You radically change the dining layout.
- You use seasonal terrace configurations.
- You operate different service concepts in the same venue.
Switching between saved maps is fast. You do not need to remap from scratch every time.
5-Point Pre-Check List
Before finalizing your mapping process, confirm:
- All permanent walls and transitions are fully scanned.
- Temporary objects have been removed from the digital map.
- No-go zones include stairs, drops, and sensitive areas.
- All service points are correctly positioned and named.
- Routes avoid unnecessary congestion zones.
If all five conditions are met, your mapping robot is ready for daily operation.
How Long Does Mapping Take?
For someone who has done it two or three times, the full process typically takes around one hour. Larger venues or layouts with many defined points may take longer. Still, it remains a fast setup compared to the operational value it unlocks.
Mapping is not complicated. It is simply a matter of attention to detail.
If you prefer professional implementation and guaranteed optimization, Reef Robotics provides full mapping support, setup, and configuration services.
